Get 20% off orders over £50 with discount code REWIND
 01423 319041

What do you want to convert?
Back to Blogs
What Do I Need to Convert Analog-to-Digital?
Sean Parle • 9 July 2026
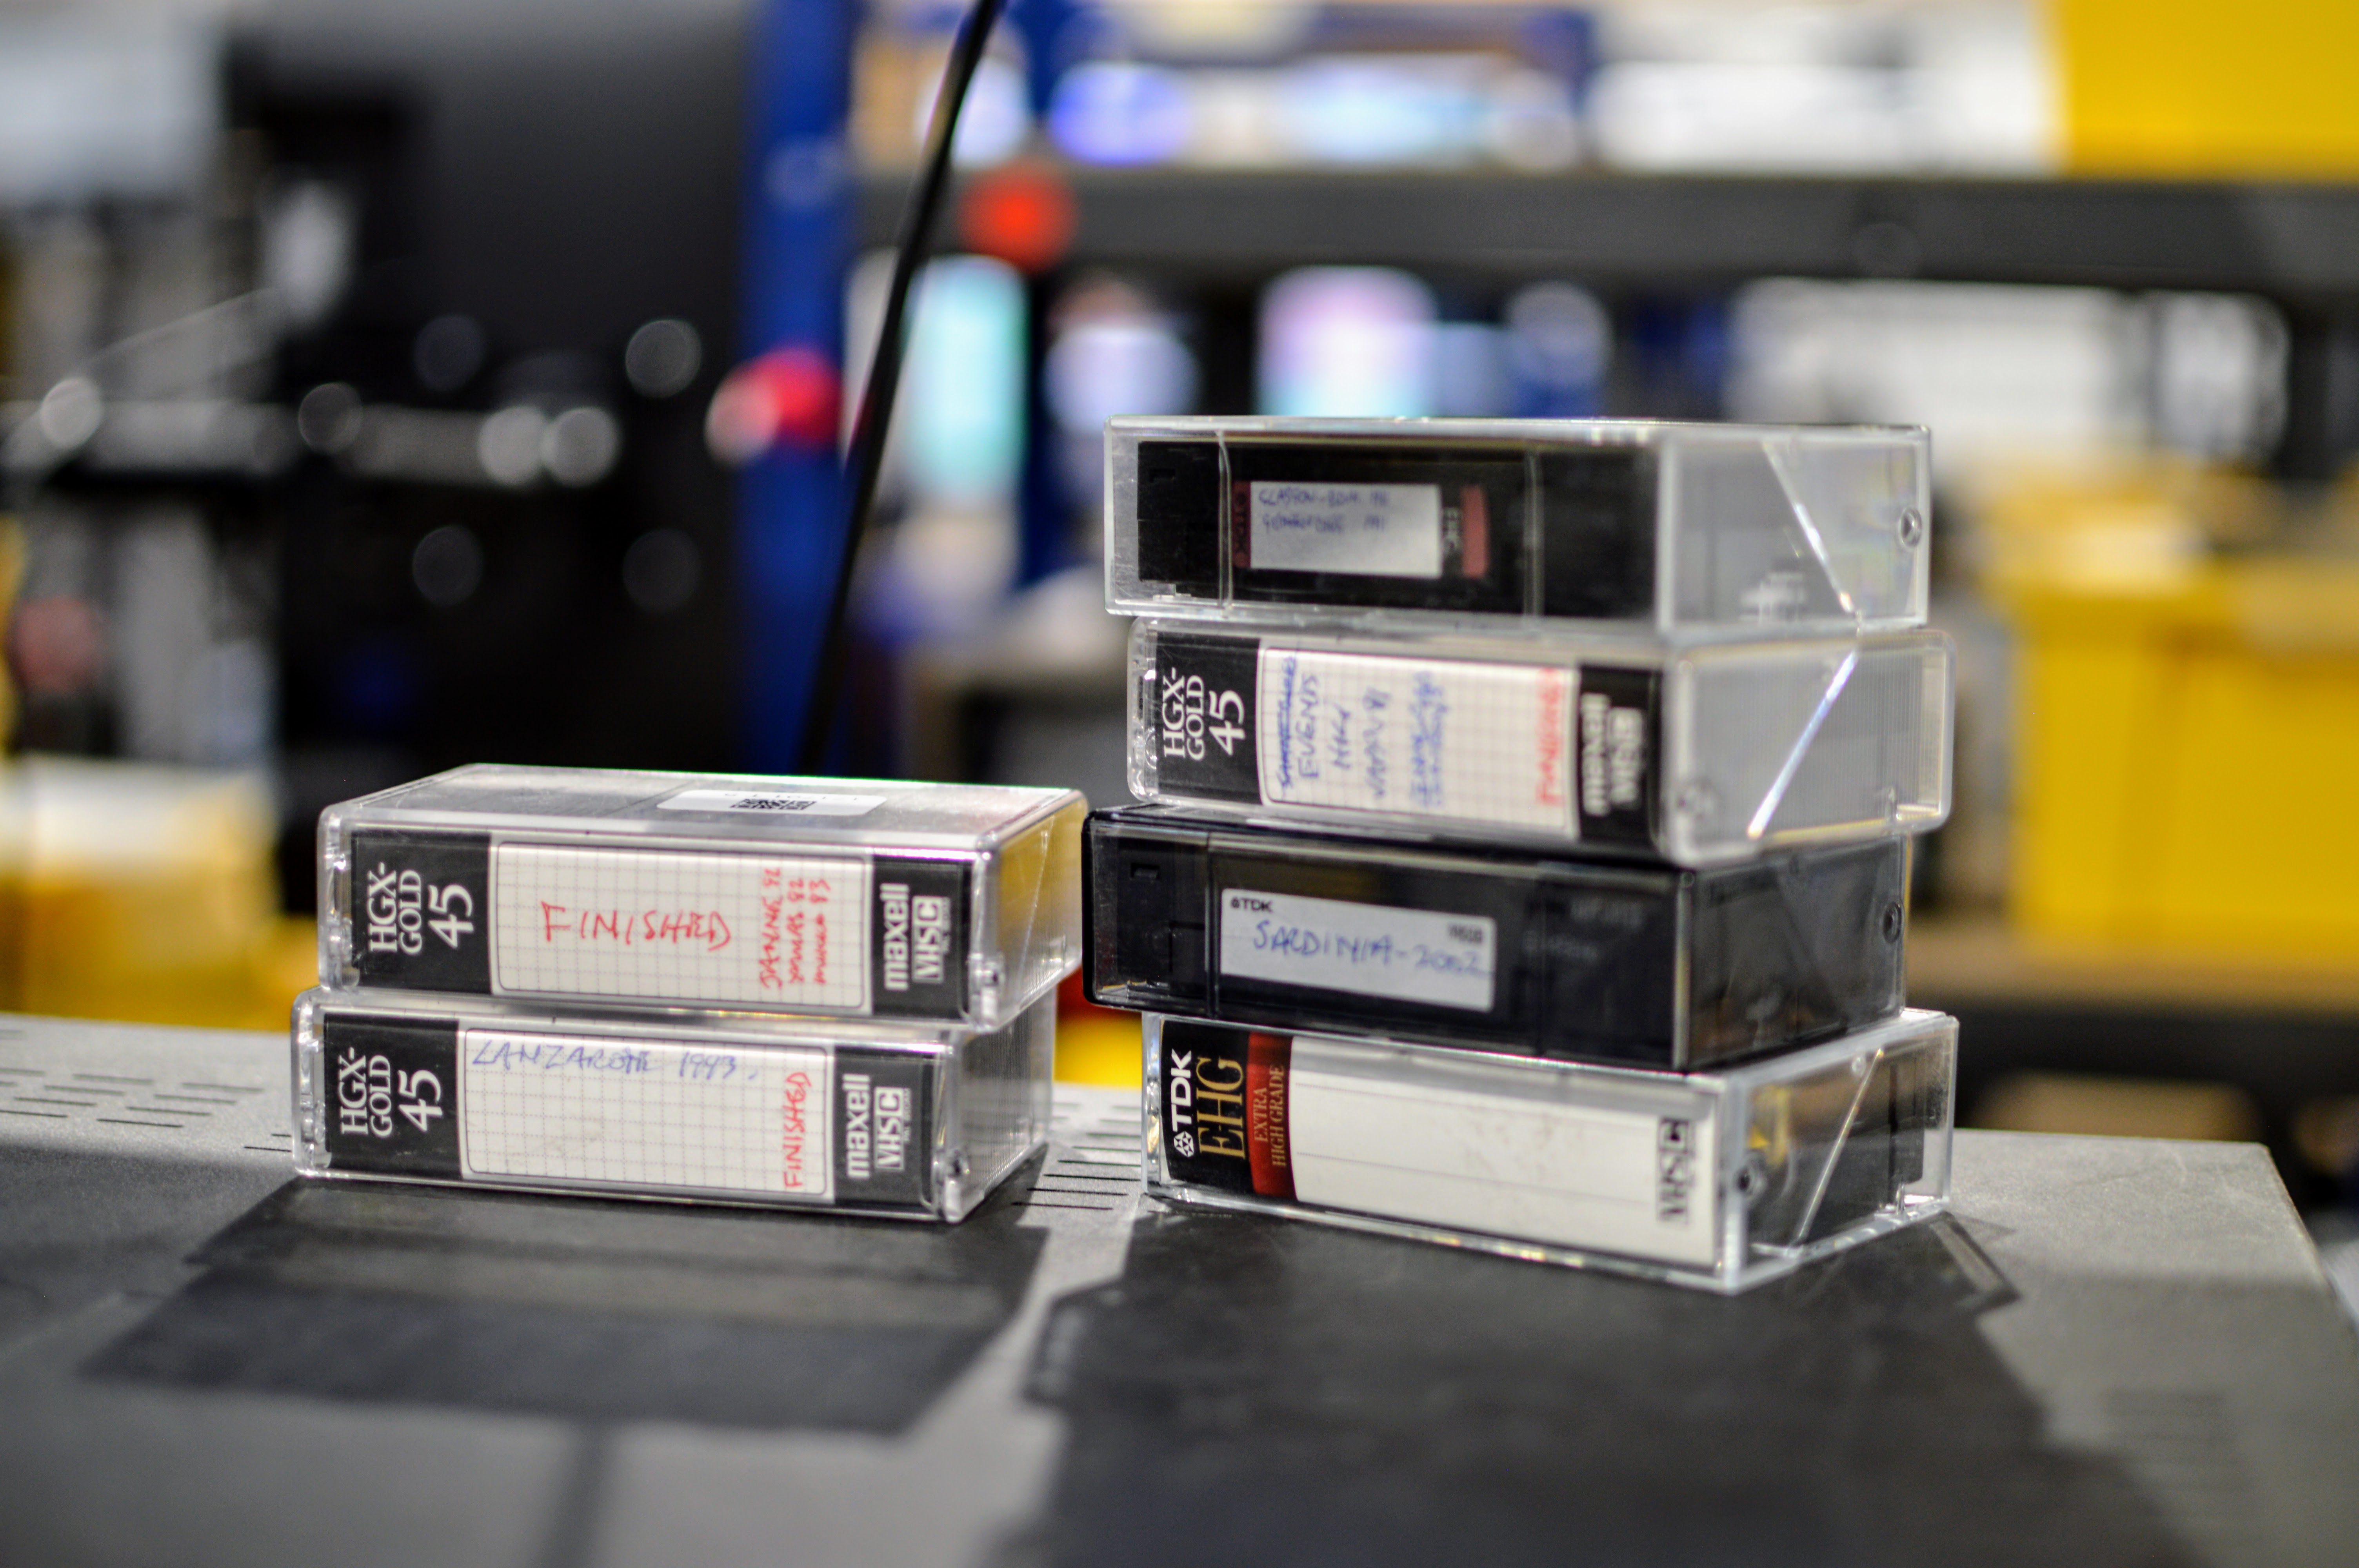
To convert analog media to digital yourself, you will need a functional playback device (like a VCR or slide scanner), a USB capture card, compatible cables, and specialist software.
However, the easiest, safest, and most cost-effective route doesn't require any complex gear at all - all you truly need is a secure box to pack up your old tapes or photos, and a professional digitisation service like us here at Digital Converters to handle the entire process in our specialist UK lab.

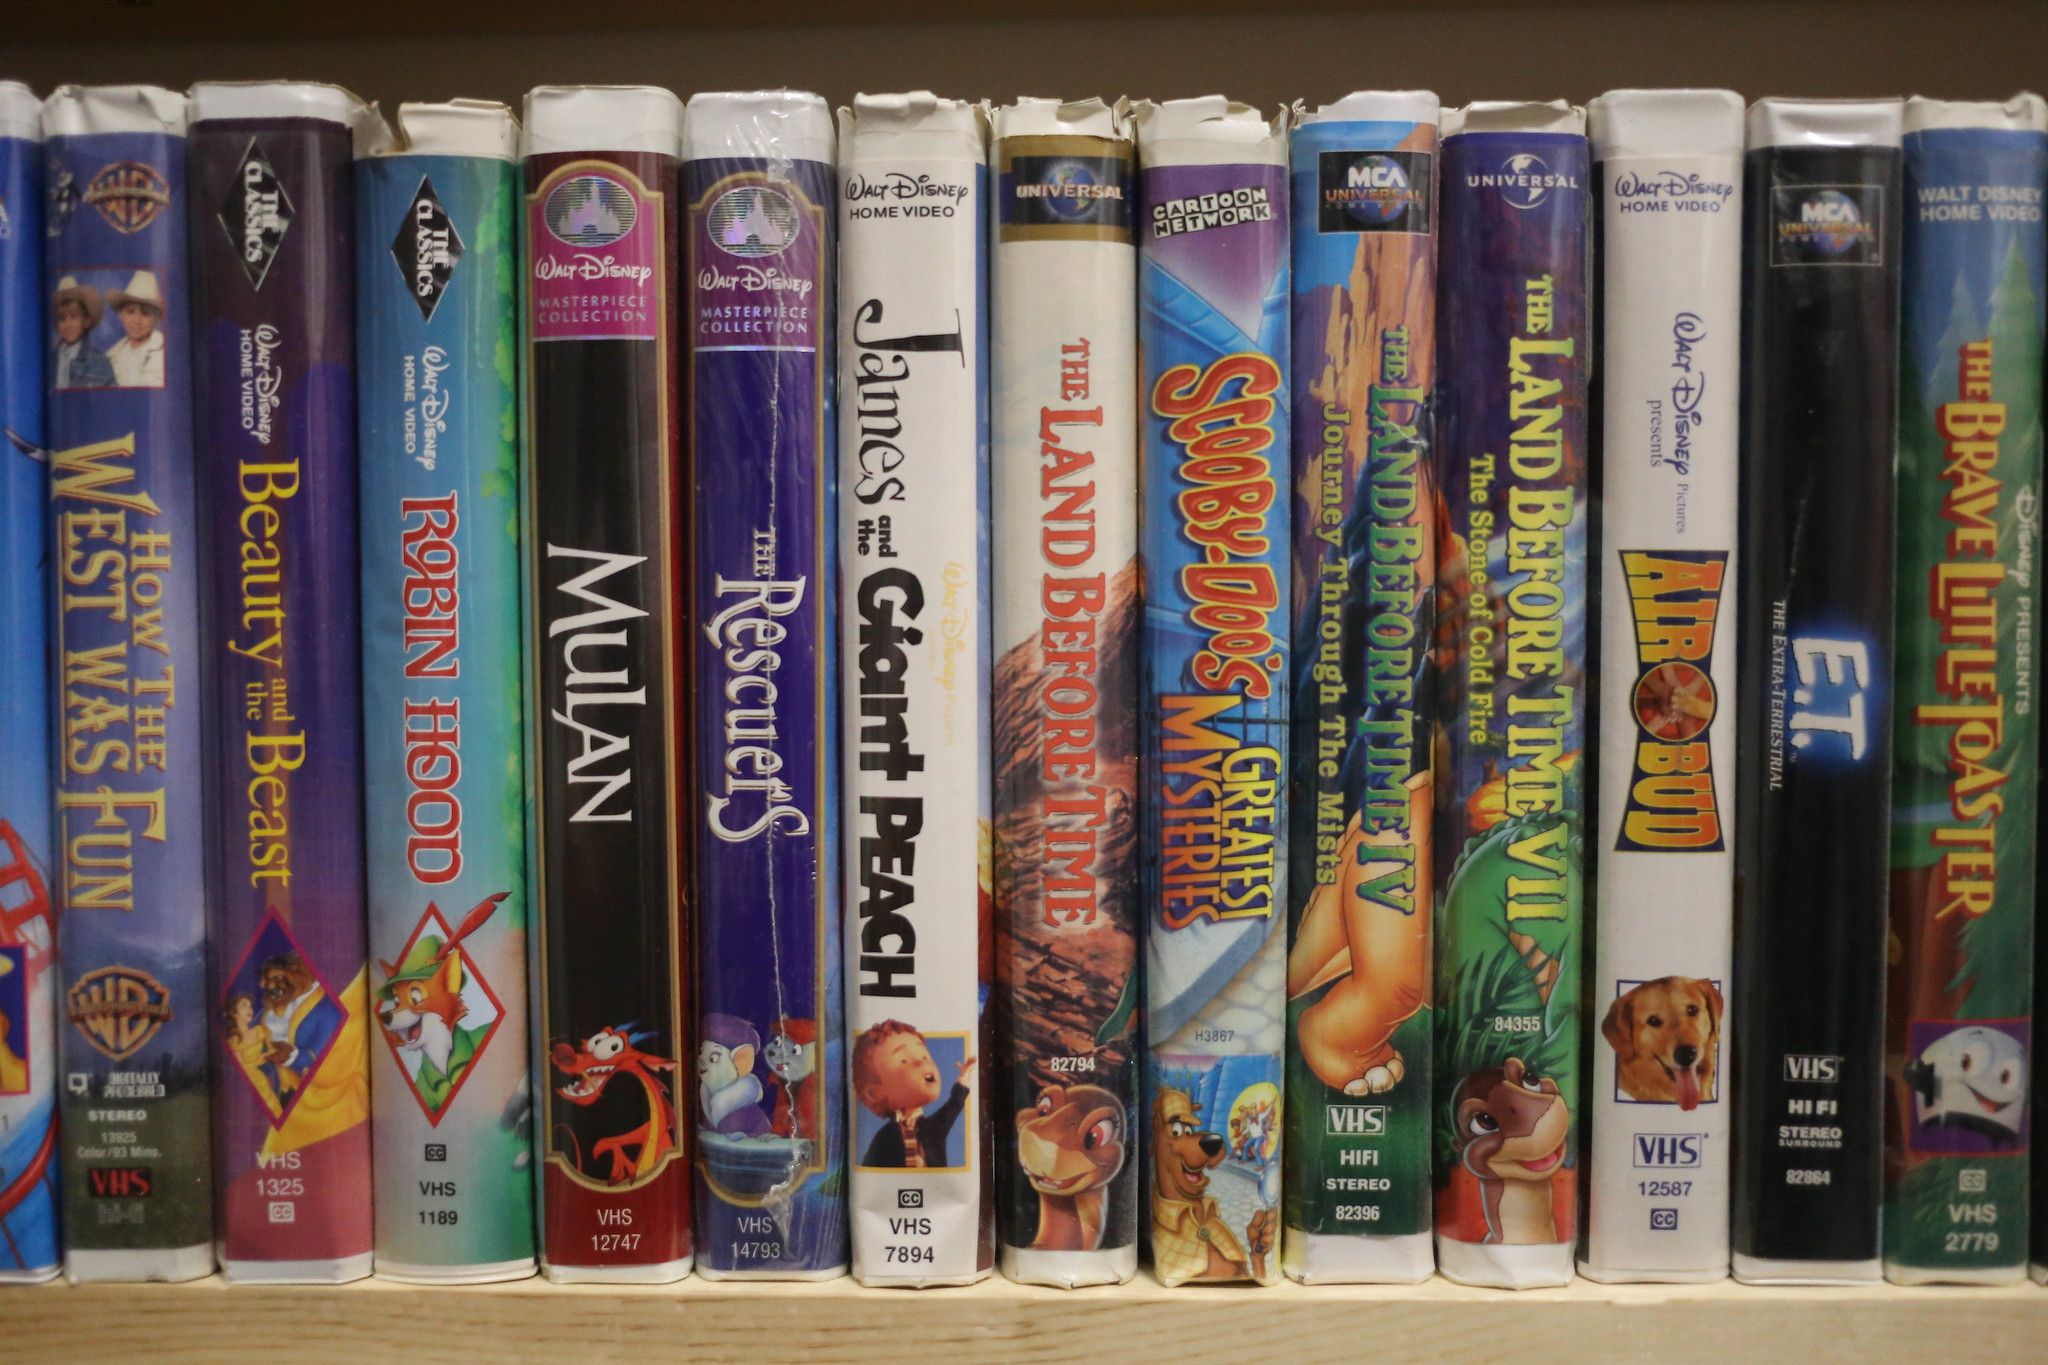
We have all been there. You are clearing out the attic, digging through old wardrobes, or rummaging through boxes in the garage when you stumble across it: a dusty shoe box crammed with old VHS tapes, audio cassettes, camcorder tapes, and bundles of photographic slides.
Inside that box is your history. It contains your parents’ wedding day, your own childhood birthdays, long-forgotten family holidays, and the voices of loved ones who are no longer with us.
The problem? You can’t watch or listen to any of it. The devices we used to play these media formats have vanished from high street shelves, replaced by smartphones, streaming services, and cloud storage.
Because analog media degrades over time - magnetic tape loses its charge, film becomes brittle, and photos fade - the clock is ticking. To save these memories, you need to translate them into the language of modern computers: digital data.
But what exactly do you need to convert analog-to-digital? In this comprehensive guide, we will unpack the technical realities of the DIY route, explore the hidden costs of doing it at home, and explain why trusting a professional team like us here at Digital Converters is ultimately the most cost-effective, safe, and stress-free decision you can make.
What is Analog-to-Digital Conversion?
Before looking at the gear, it helps to understand what is actually happening during the conversion process.
Analog Media records data continuously. A vinyl record has physical, unbroken grooves that mirror sound waves. A VHS tape contains magnetic particles arranged in patterns that correspond to video frames and audio frequencies. It is physical, tactile, and fragile.
Digital Media is entirely abstract. It breaks down those continuous waves into discrete binary code - a series of 1s and 0s - that a computer, phone, or smart TV can interpret and display.
To bridge this gap, you need an ADC (Analog-to-Digital Converter). This is a specialised piece of hardware that takes the continuous electrical signal from a playback device, samples it thousands of times per second, and translates those samples into digital code.
While an ADC chip lives inside everything from your smartphone microphone to your computer's sound card, digitising vintage media requires a dedicated external "bridge" to handle old video and audio signals.
The DIY Checklist: Everything You Need to Convert at Home
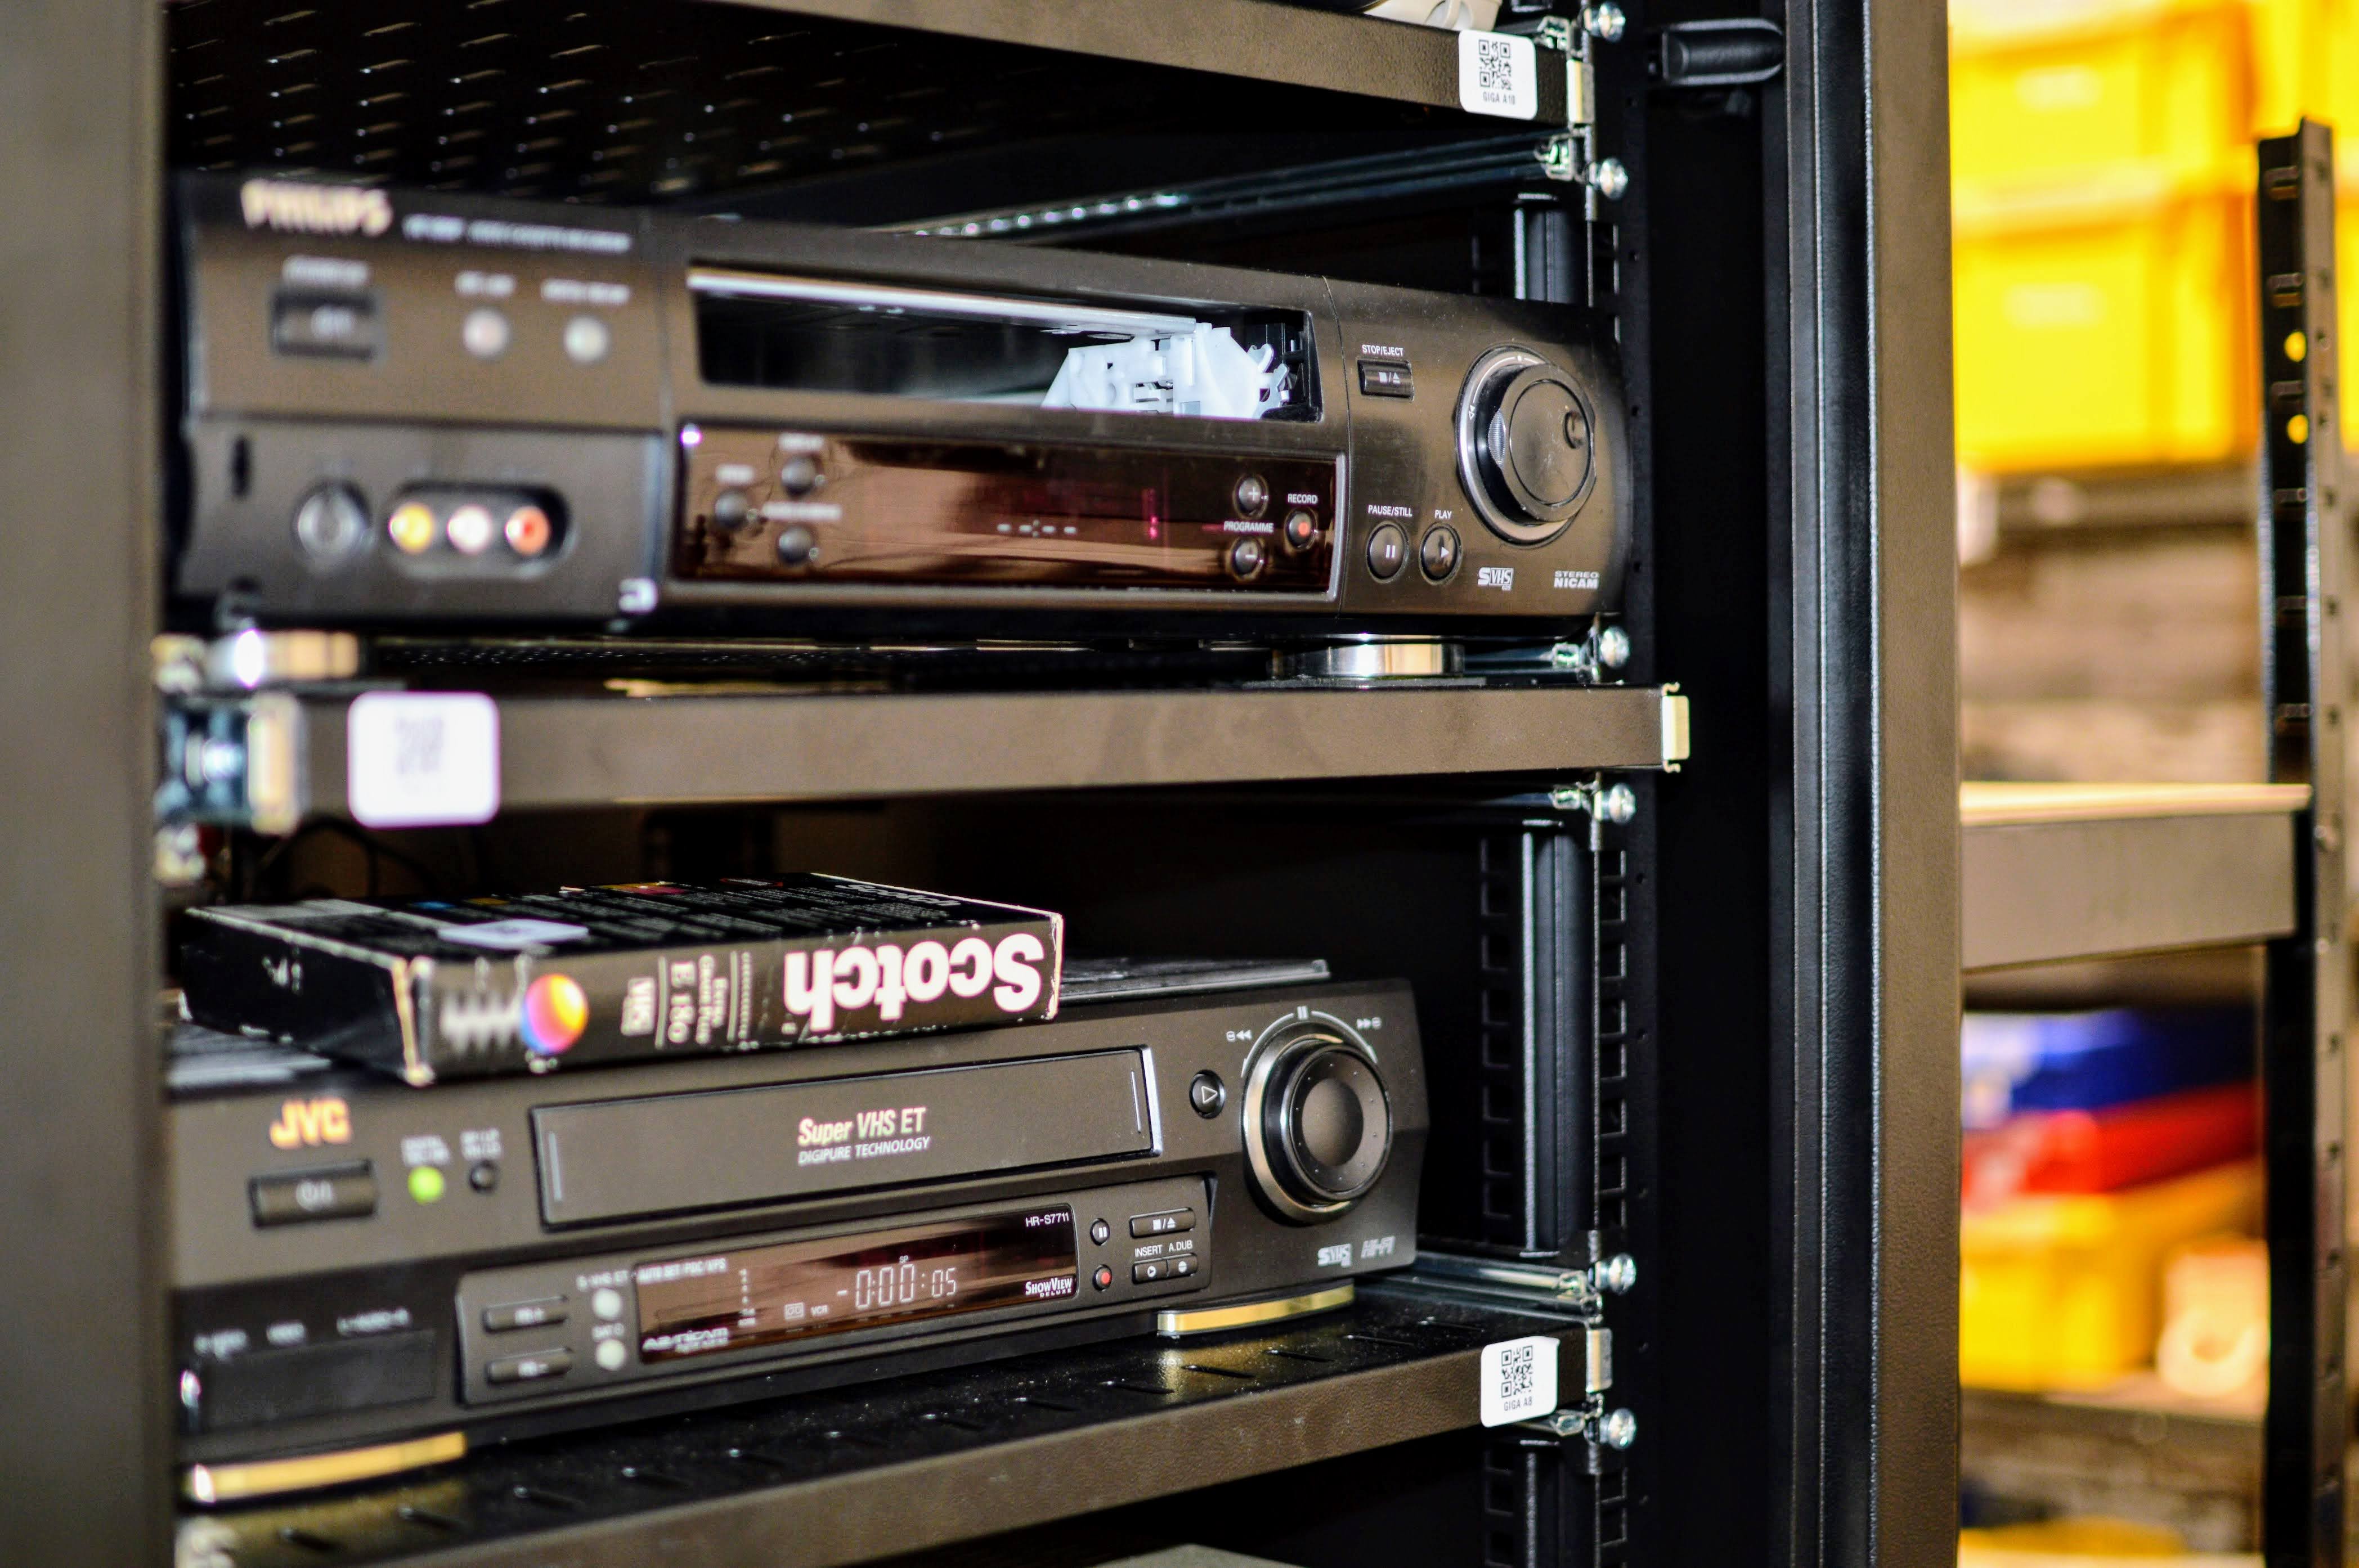
If you are technically minded, have a lot of patience, and want to attempt to convert your old media collection yourself, you cannot just plug a VCR straight into a modern laptop. You will need to assemble a complete "digitisation station."
Depending on the specific media you own, your shopping and setup checklist will look something like this:
For Video Tapes (VHS, VHS-C, Hi8, Digital8, MiniDV)
A Fully Functioning Playback Device: You will need a working, high-quality VCR or the exact model of camcorder that recorded your original tapes.
A Video Capture Card (The Hardware Bridge): This is a USB device that features analog inputs on one side (RCA or S-Video) and a standard USB connection on the other. It acts as the translator between your VCR and your PC.
High-Quality Analogue Cables: You will need SCART adapters, composite RCA cables (the classic red, white, and yellow plugs), or S-Video cables.
Time Base Corrector (TBC): Many cheap USB capture cards cannot handle the unstable, jittery signals produced by old VCRs. A hardware TBC sits between the VCR and the computer to stabilise the video signal, preventing the audio and video from falling out of sync.
A Powerful Computer with Vast Storage: Video conversion requires a lot of processing power. Furthermore, uncompressed or raw digital video files are massive. You will need hundreds of gigabytes of free hard drive space to store the initial captures before compressing them.
Digitisation Software: You will need programs like OBS Studio, VirtualDub, or Elgato Video Capture. These programs must be meticulously configured for frame rates (PAL for the UK), aspect ratios (4:3 for old TVs), and audio bitrates.
For Audio Tapes (Cassettes and Reel-to-Reel)
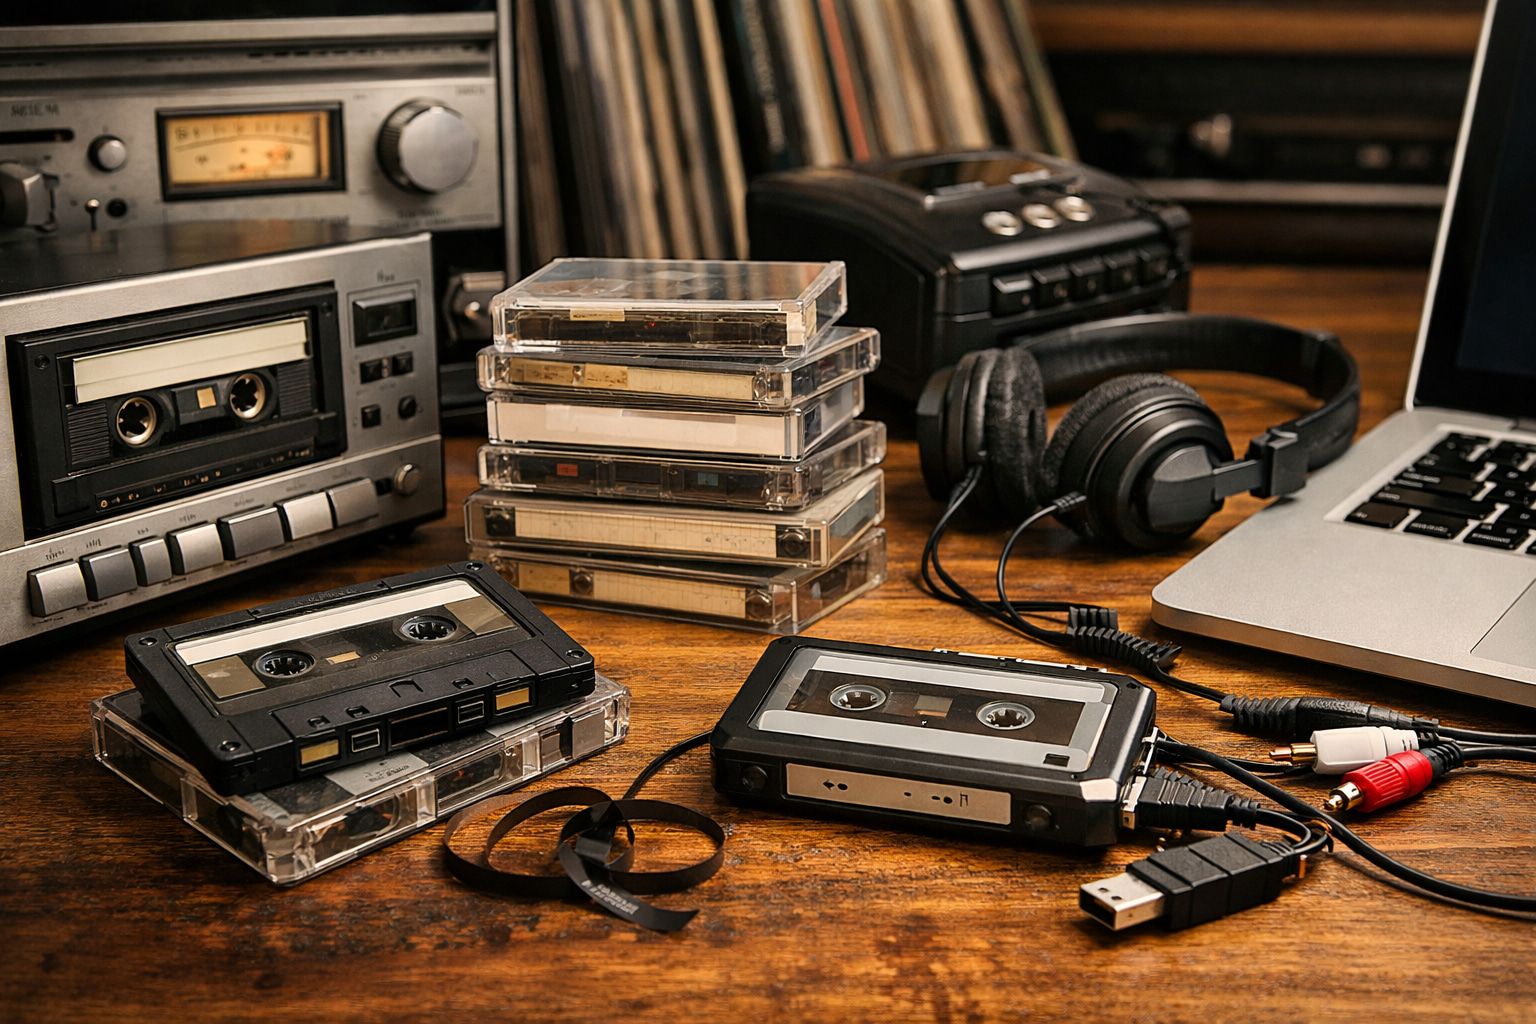
A Working Tape Deck: A high-fidelity cassette player or reel-to-reel machine with clean audio heads.
An Audio Interface or Line-In Cable: A dedicated USB audio interface (like a Focusrite Scarlett) or a high-quality 3.5mm-to-RCA cable to connect the tape deck's "Line Out" to your computer's "Line In."
Audio Editing Software: Free software like Audacity is standard, but you will need to learn how to manually adjust input gains to prevent clipping (distortion) and apply noise-reduction filters to hiss and hum.
For Photographic Media (Slides, Negatives, and Prints)
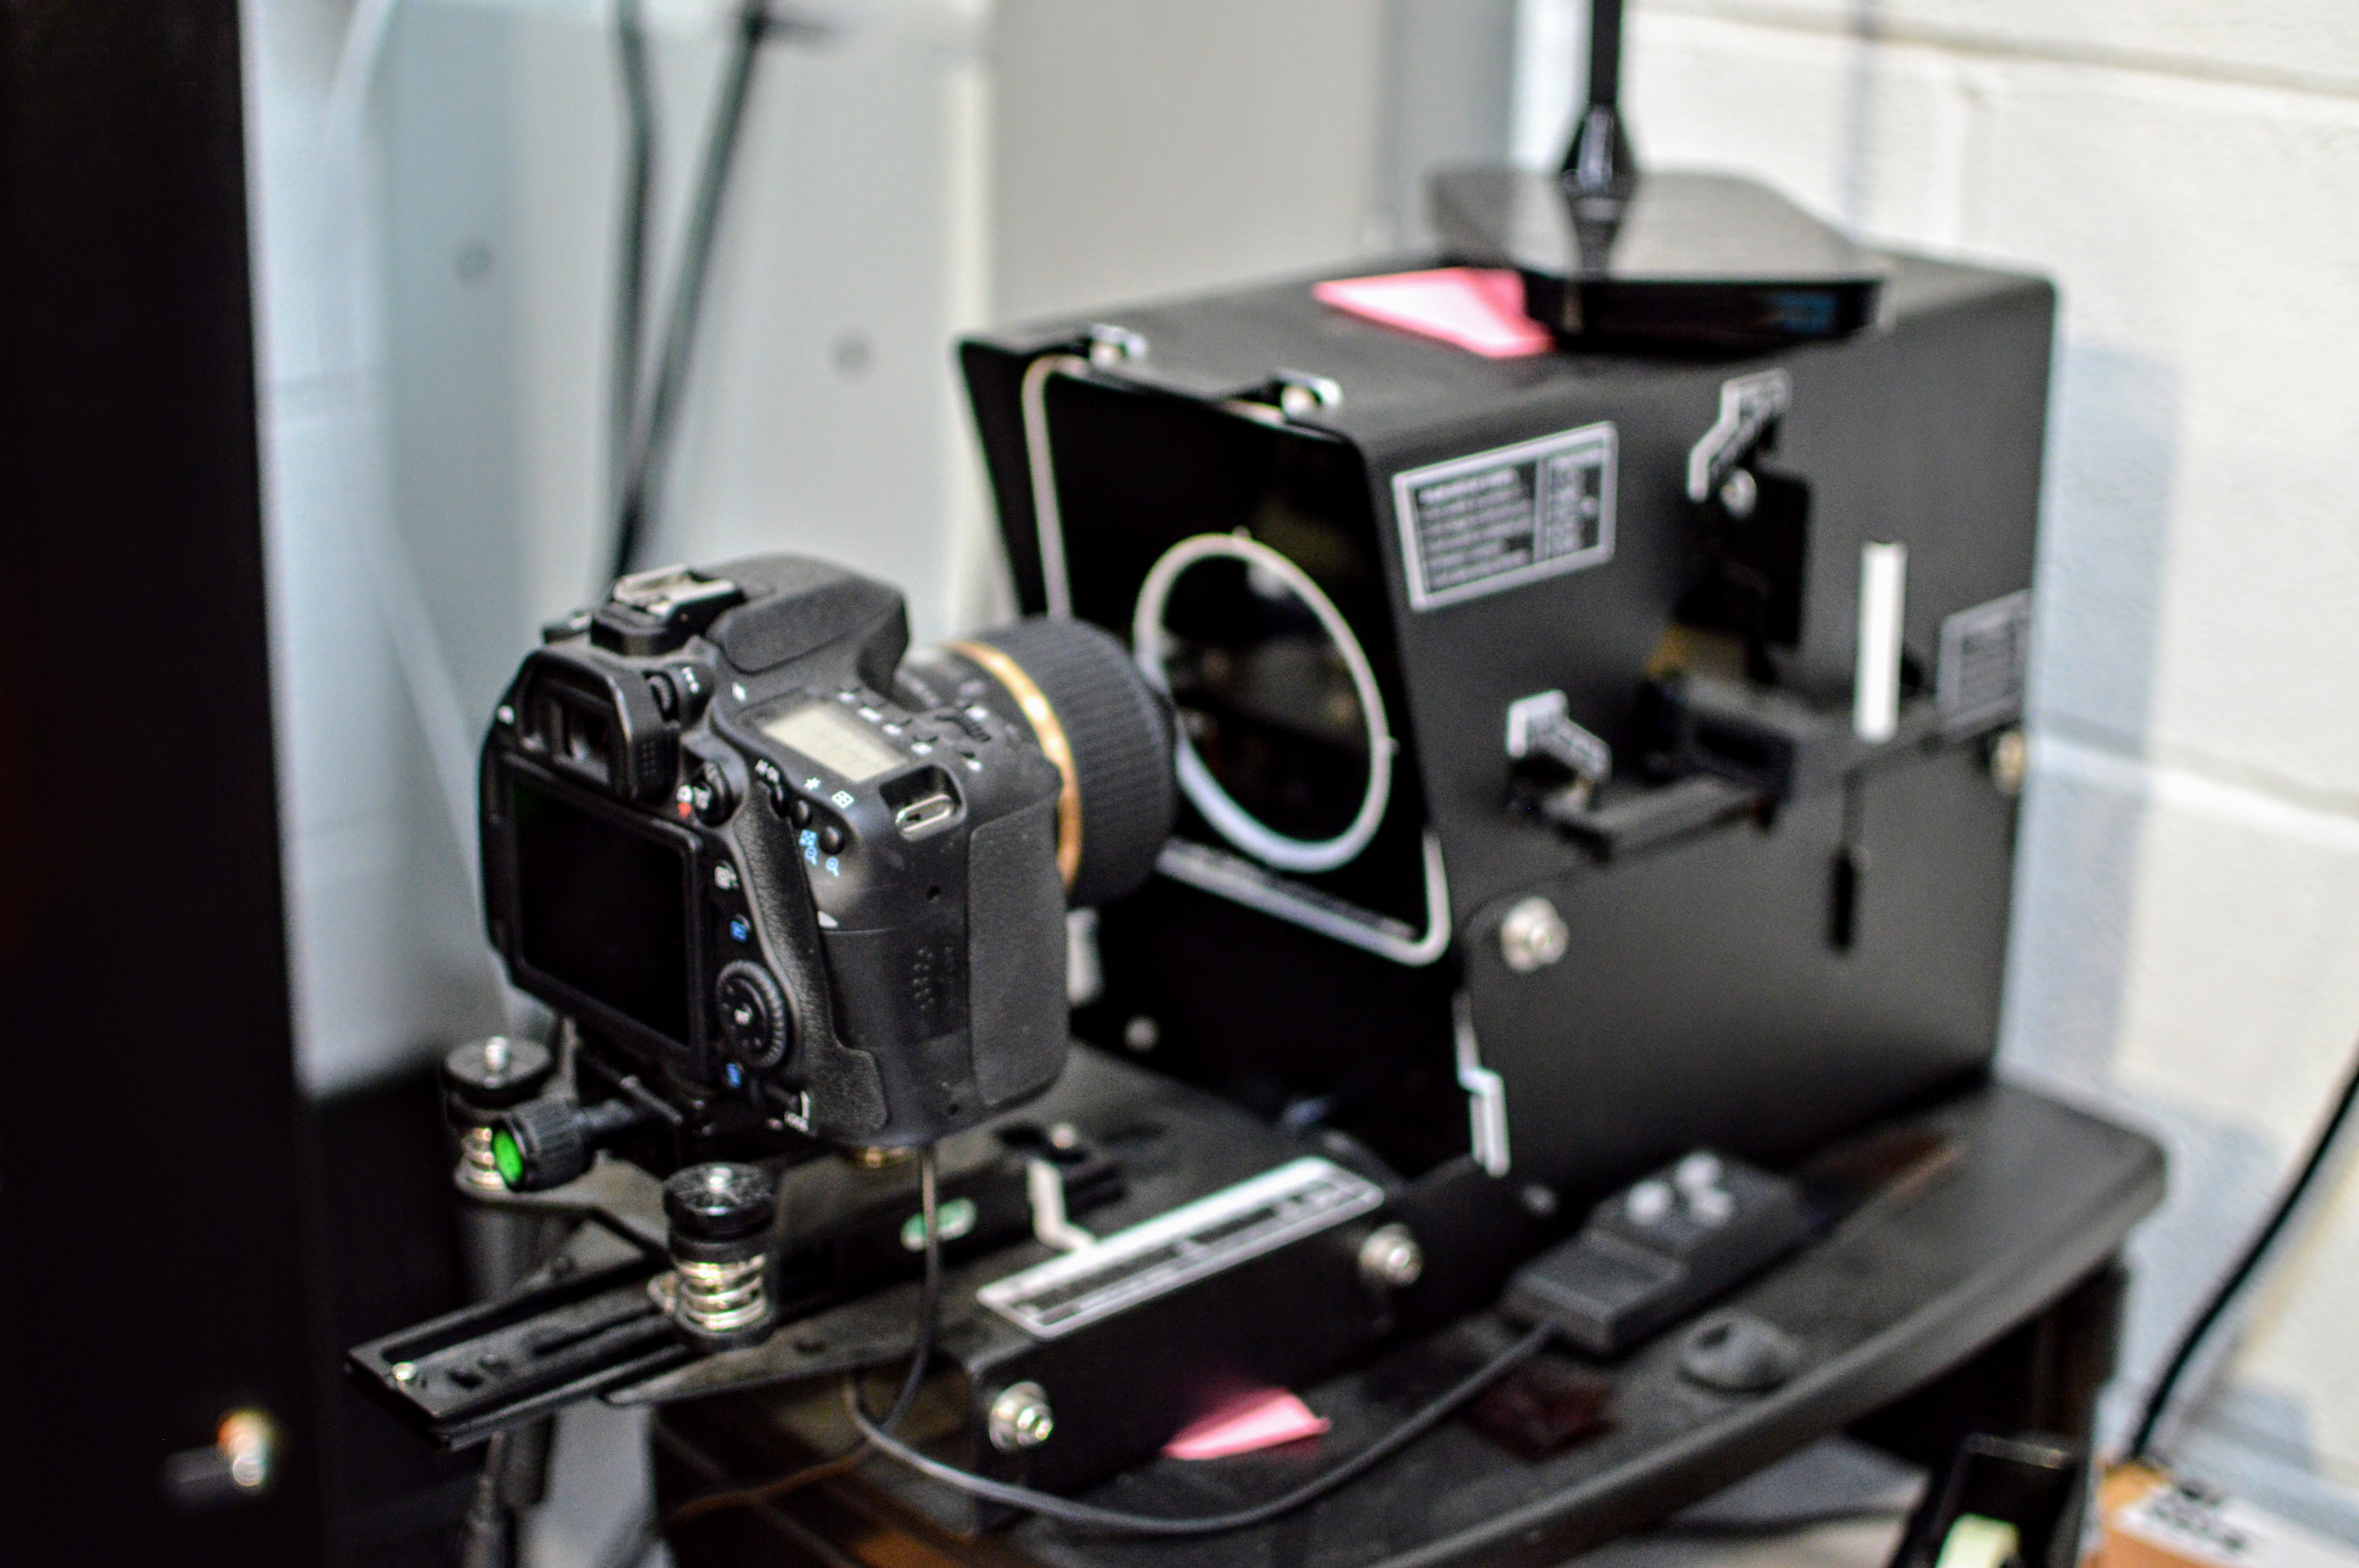
A Dedicated Photo/Slide Scanner: Standard flatbed office scanners are not designed for film. You need a specialist scanner equipped with a transparency unit (a light in the lid) and fitted plastic trays to hold 35mm slides or negatives perfectly flat.
Photo Editing Software: Software like Adobe Lightroom or Photoshop to crop out borders, reverse negative colours, and manually clone out dust motes, scratches, and fingerprint marks.
The Hidden Pitfalls of the DIY Approach
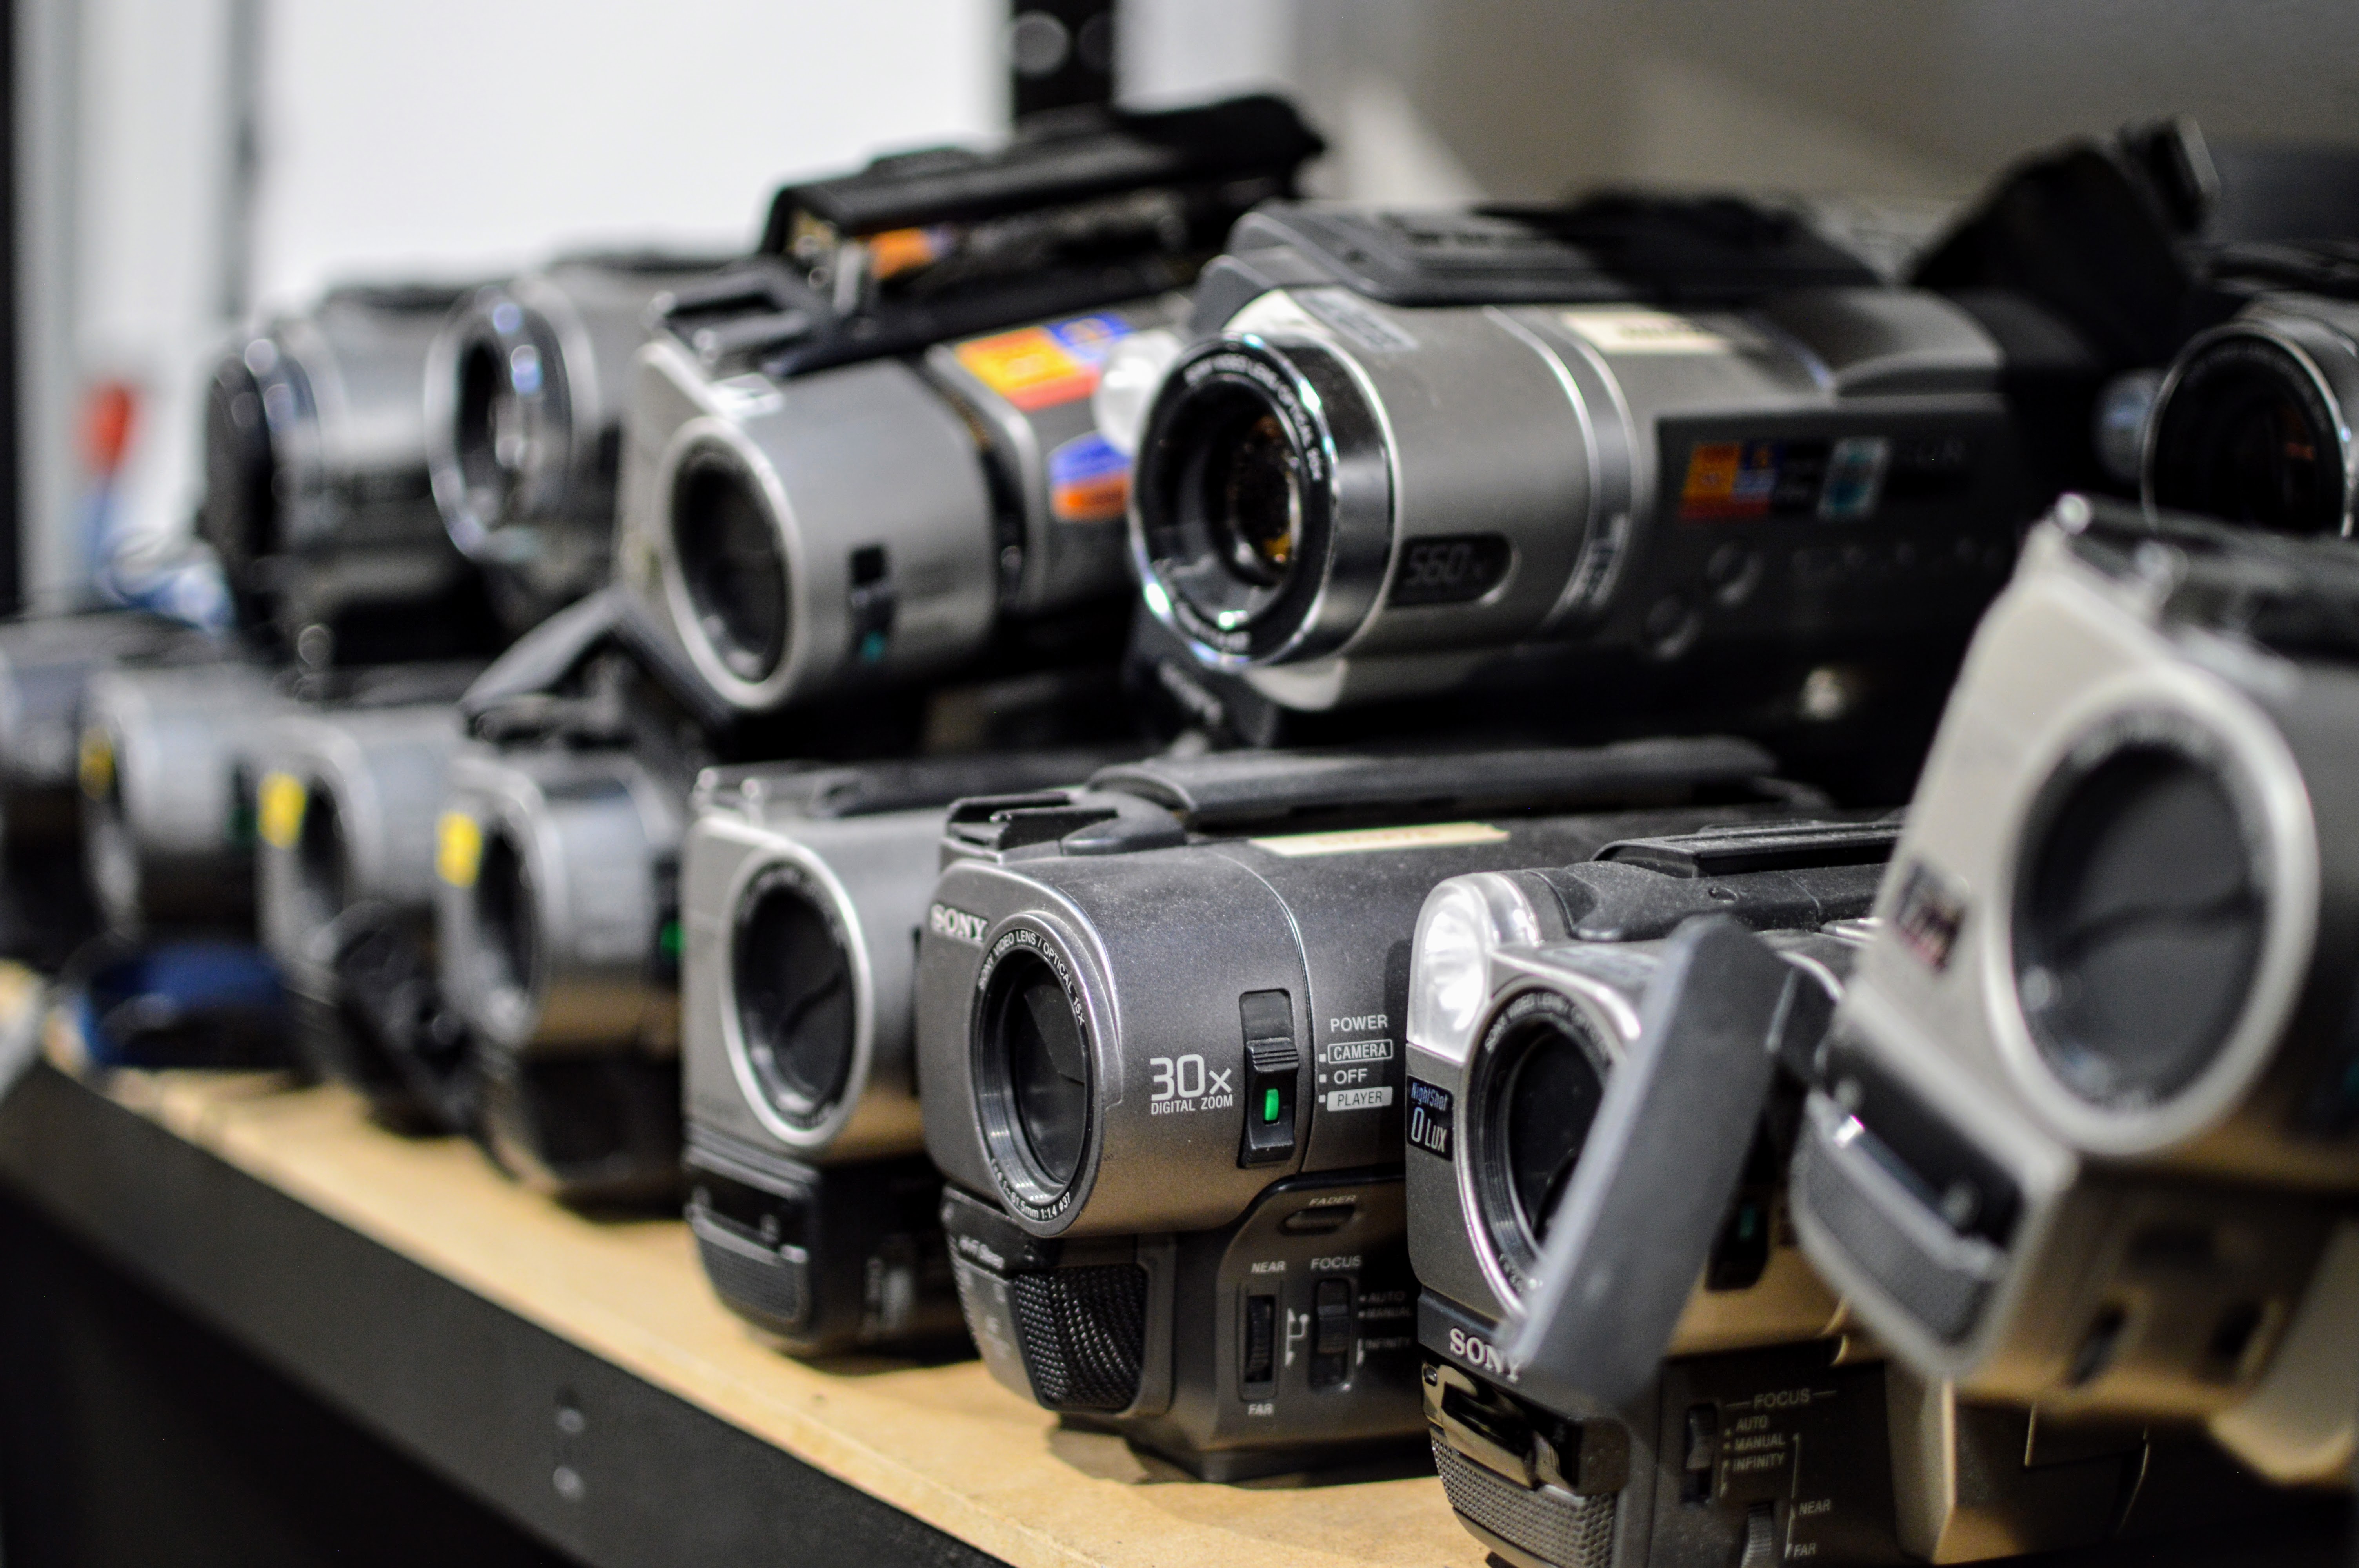
On paper, buying a £15 USB capture dongle from Amazon and doing it yourself sounds like a fun, budget-friendly weekend project. However, the reality of DIY conversion is fraught with hidden challenges that can quickly turn a nostalgic project into an expensive headache.
The Problem with Second-Hand Gear
Finding a reliable VCR in the 2020s is an uphill battle. Production of new VCRs ceased entirely in 2016, meaning any machine you buy today is second-hand, decades old, and likely heavily worn. If a VCR has been sitting in a damp loft or garage for years, its rubber belts degrade, its lubricants dry up, and its internal rollers collect dust.
The Tape-Eating Machine
Old magnetic tape becomes brittle over time. If you insert a priceless, irreplaceable tape of your childhood into an untested, unserviced second-hand VCR, there is a very high probability the machine will "eat" the tape. It can snap the ribbon, wrap it around the internal cylinders, and destroy your memories forever in a fraction of a second.
Our Lab's Advice: In our digitising lab, we frequently see tapes that have developed small amounts of white mould while in storage. If you try to play these in a standard home VCR, the machine will spread the mould spores across the internal video heads, instantly ruining the playback quality for every subsequent tape you insert.
The Endless Time Sink
Analog-to-digital conversion cannot be sped up. It happens entirely in real-time. If you have 30 hours of family videos, it will take exactly 30 hours of continuous playback to digitise them.
This is not a "set it and forget it" process, either. Because old tapes frequently glitch, lose tracking, or encounter signal drops, you have to actively monitor the computer screen to ensure the software hasn't crashed or stopped recording. When you factor in the time spent troubleshooting drivers, setting up cables, and rendering files, a medium-sized box of tapes can easily consume months of your weekends.
Subpar Quality and Frustrating Errors
Cheap, consumer-grade USB capture devices are notorious for driver instability, especially on modern operating systems. Common issues include:
Audio-Sync Drift: The video and audio start perfectly synced, but by the end of a two-hour tape, the sound is lagging five seconds behind the picture.
Dropped Frames: If the analog tape has a minor physical blemish, a cheap capture card will drop those frames entirely, resulting in jerky, unwatchable digital files.
Washed-Out Colours: Consumer gear lacks the internal hardware components required to balance colour saturation and contrast accurately, leaving your digital files looking dull, grainy, and dark compared to the original recording.
Why a Professional Service is the Smarter Alternative
When you add up the cost of procurement, the time invested, and the potential risk of losing your footage entirely, the DIY route quickly loses its luster. For the vast majority of people, the most cost-effective, secure, and stress-free solution is to hand the job over to dedicated professionals.
A professional service changes the entire equation, due to:
Broadcast-Grade Industrial Hardware
Professional digitisation labs such as ourselves do not use cheap USB dongles or consumer electronics. We utilise industrial-grade, broadcast-standard playback decks (such as broadcast-spec Sony Betacam or Panasonic SVHS decks) that cost thousands of pounds when new. Our machines are meticulously maintained, regularly serviced, and calibrated to extract the absolute sharpest picture and clearest audio possible from old magnetic tape.
Advanced Signal Processing
Our professional setups route every single video signal through standalone, industrial-grade Time Base Correctors and hardware synchronisers. This guarantees that even if your tape is heavily worn or physically damaged, the digital file we create will remain perfectly smooth, stable, and completely in sync from the first second to the last.
Safety, Cleaning, and Restoration
Before we ever insert a tape into one of our decks, it undergoes a thorough visual inspection by our team. If a tape is found to have mould, dust, or a broken internal casing, our specialists will safely clean, repair, or splice the tape in a controlled environment using dedicated equipment. This completely eliminates the risk of a machine eating or shredding your irreplaceable footage.
DIY vs. Digital Converters
To help you decide which path makes the most sense for your project, let's look at how the DIY route compares directly to what we offer:
Factor | The DIY Route | Our Service |
Upfront Equipment Cost | High (VCR/decks, capture cards, specific cables, external storage). | Zero (No equipment or software to buy). |
Time Investment | Massive (Requires real-time capture, monitoring, and file editing). | Minimal (Just box up your media and send it to us). |
Technical Knowledge | High (Must understand frame rates, aspect ratios, codecs, and driver setup). | None Required (Handled entirely by our expert technicians). |
Risk of Media Damage | Significant (Untested second-hand players can chew, snap, or scratch old media). | Extremely Low (Media is inspected, cleaned, and run on broadcast-grade decks). |
Output File Quality | Variable (Often plagued by dropped frames, audio sync issues, and color fade). | Optimised (Broadcast-quality capture with signal stabilisation and noise correction). |
Format Flexibility | Limited (Restricted to whatever file formats your basic software supports). | Excellent (Get files on a USB stick, traditional DVD, or via secure Cloud download). |
How We Make Preserving Your Memories Effortless
If you want to skip the technical headaches, avoid the risk of damaging your media, and save yourself hours of frustration, letting our team at Digital Converters handle your collection is the ultimate shortcut.
Based right here in the UK, we have built a streamlined, highly secure process designed from the ground up to give you total peace of mind while bringing your old media into the modern digital age.
Here is how simple it is:
Order Online: You select exactly what you need digitised via our easy-to-use website - whether it is a handful of VHS tapes, a collection of Camcorder tapes (Hi8, MiniDV), audio cassettes, or hundreds of 35mm slides.
Safe and Secure Shipping: You pack your memories into a sturdy box and send them to our secure, state-of-the-art UK lab using a tracked, trusted courier service. Your media is securely tracked from the moment it leaves your hands to the second it arrives at our lab.
Expert Digitisation: Our team of experienced technicians inspects, cleans, and processes your media using our high-end, broadcast-quality equipment.
Choose Your Format: You don't have to worry about whether your computer can read the files. You can choose to receive your newly digitised memories from us on a convenient, plug-and-play USB stick, a traditional DVD, or via a secure Cloud download link that you can instantly share with family and friends across the globe.
Safe Return: Once the conversion is complete, we return all of your original, untouched physical media right back to you alongside your brand-new digital files.
The Decision is yours
While the question of what you need to convert analog-to-digital has a clear technical answer - a playback device, a capture card, specific cabling, dedicated software, and a mountain of free time - the more important question is whether that massive personal investment is truly worth it.
For a tiny minority of hobbyists who enjoy troubleshooting vintage electronics and editing raw video files, the DIY route can be an engaging project. But for the vast majority of people who simply want to preserve their family history safely, cleanly, and with the best possible picture and sound quality, the DIY approach is a risky and expensive detour.
Don’t gamble your family’s most precious, irreplaceable moments on cheap internet dongles or unpredictable, second-hand VCRs. Let our team take the weight off your shoulders.
Head over to our homepage today, choose your media types, and let us safely breathe new life into your old memories for total peace of mind.