01423 319041

Send your media
After you place your order, we’ll help you arrange a courier collection or you can post your Mini DV tapes to us.
What do you want to convert?
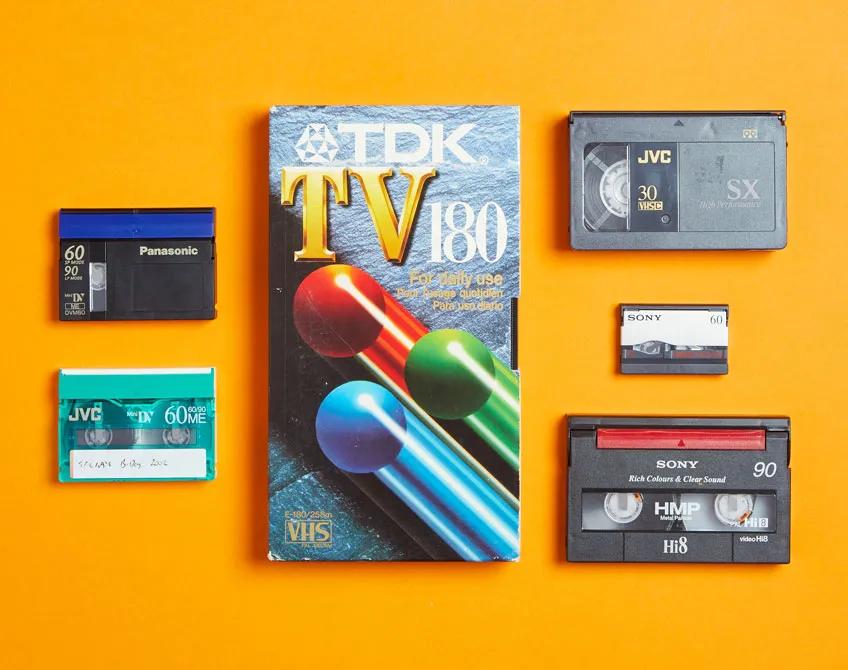
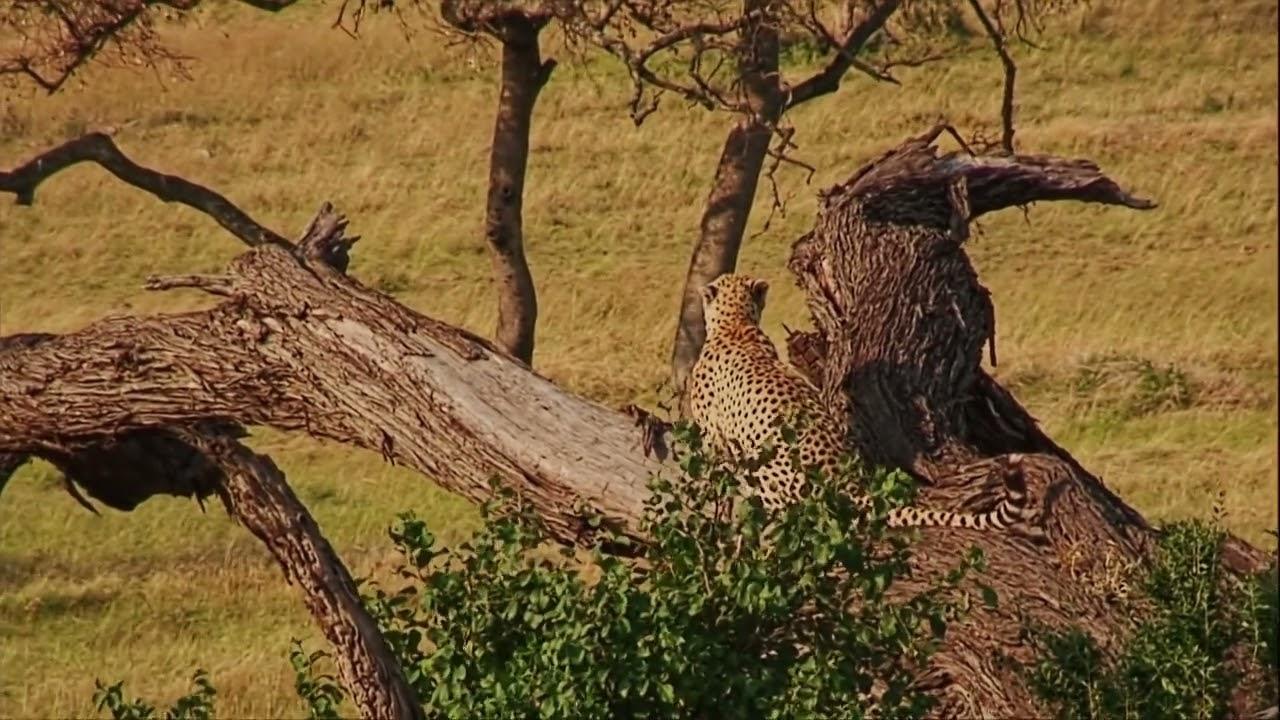
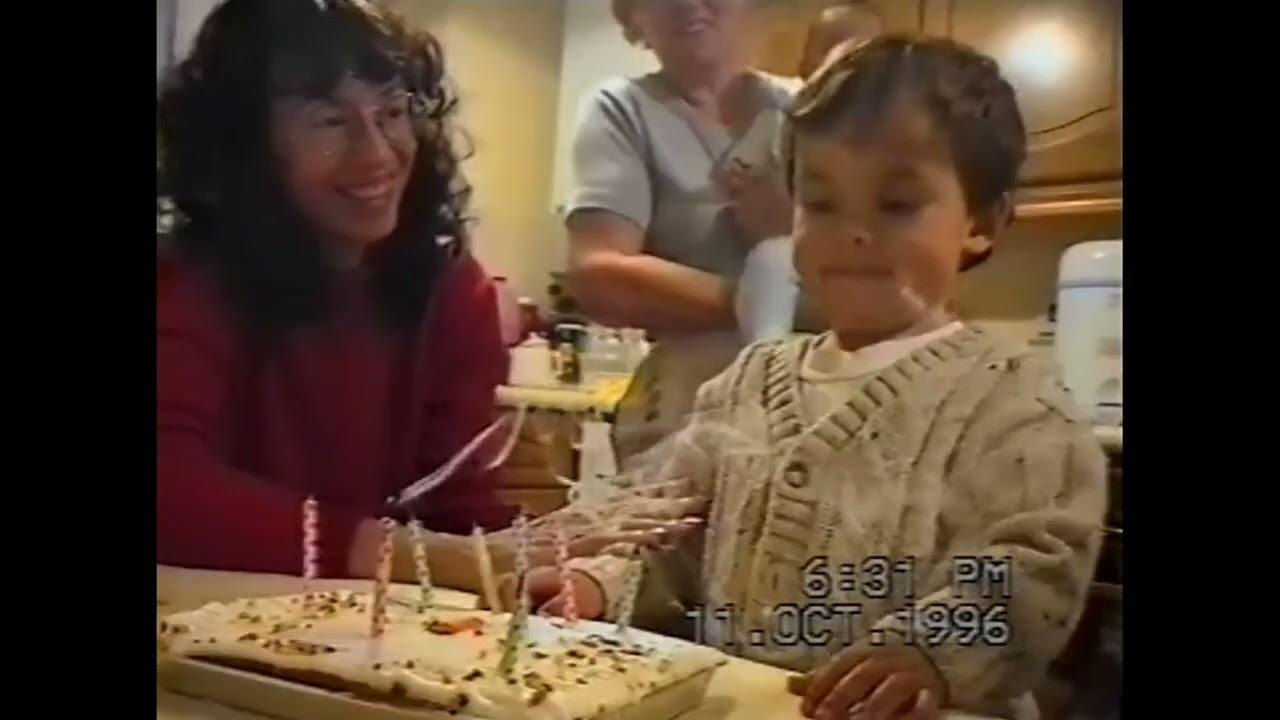
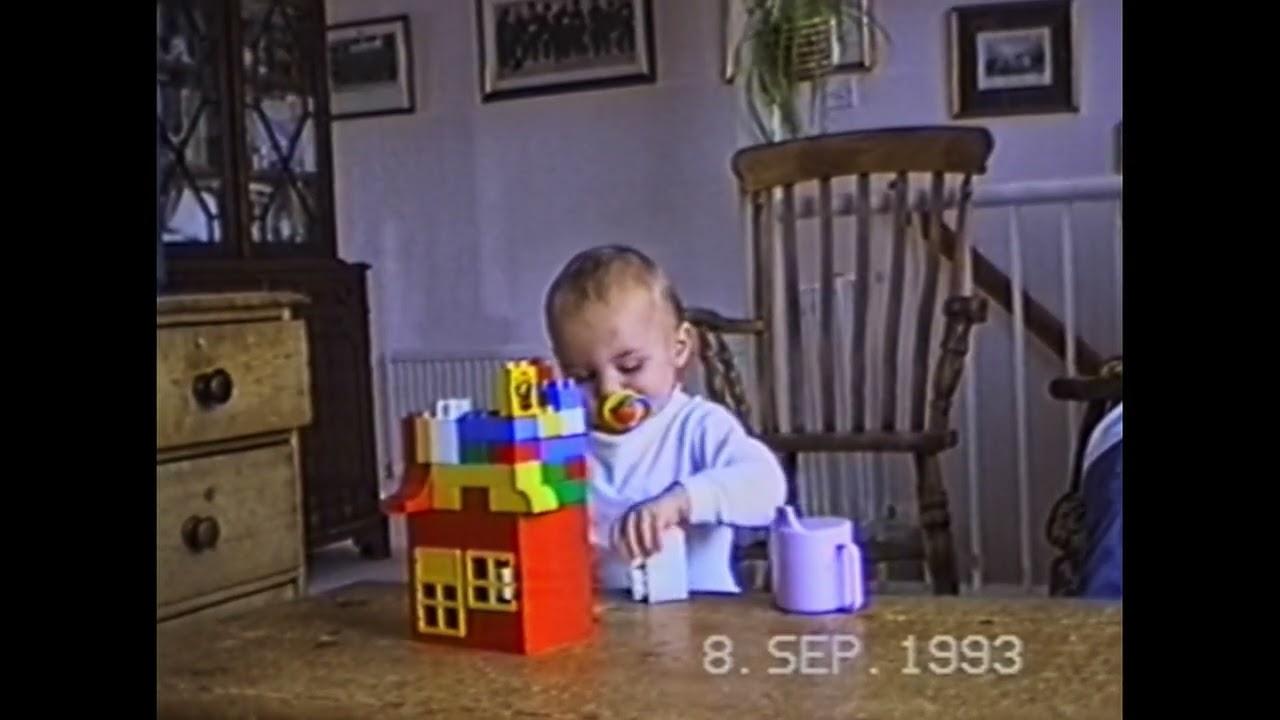
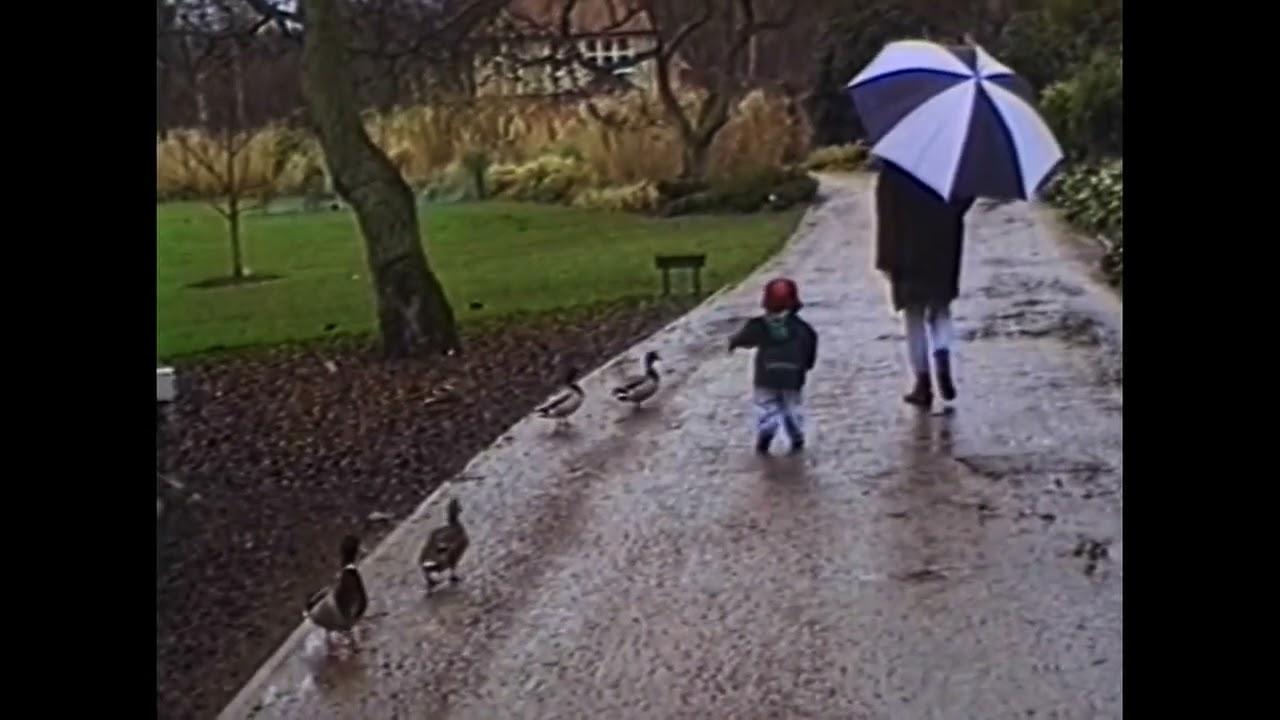
Some of our best memories are stored on Mini DV tapes.
Convert your Mini DV tapes to digital formats in two simple steps and you can relive those wonderful moments like they were yesterday - forever.
See our MiniDV to DVD or MiniDV to USB pages if you're interested in converting your Mini DV tapes to these formats.


After you place your order, we’ll help you arrange a courier collection or you can post your Mini DV tapes to us.
We’ll let you know as soon as we receive your order. Our specialists will carefully begin work to preserve your memories and convert your Mini DV tapes to Digital
Your digital Mini DV conversions (as well as your original Mini DV tapes) are sent safely to you. After that, it’s over to you to enjoy your old memories made new!

 What type
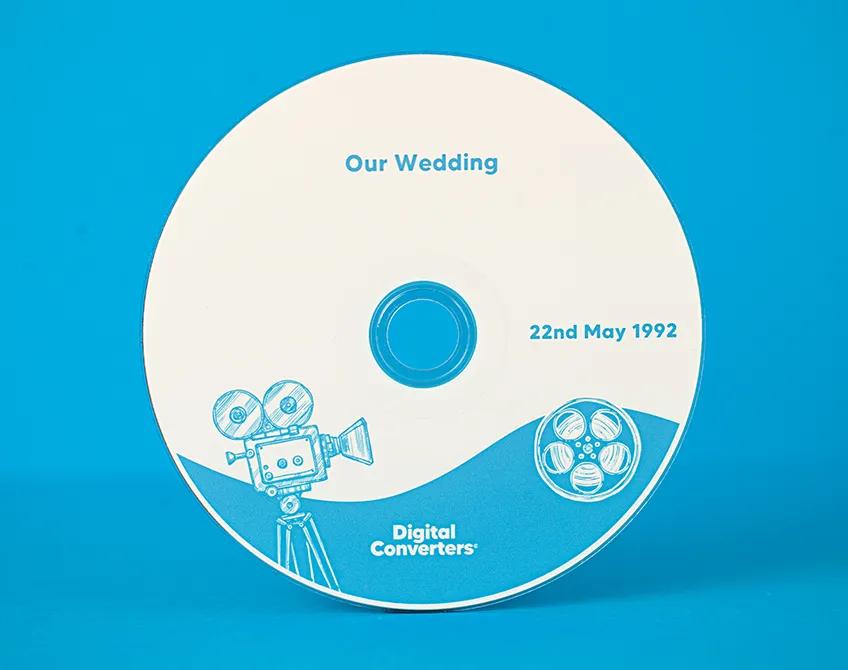
Your original Mini DV tapes, converted and written onto a DVD. You’ll be able to play it on any DVD player or other disc drive.
Each of your videos on a separate disc
Each of your videos on a separate discYou only need to order one set to get all your conversions
You only need to order one set to get all your conversionsWatching on the telly
Watching on the telly
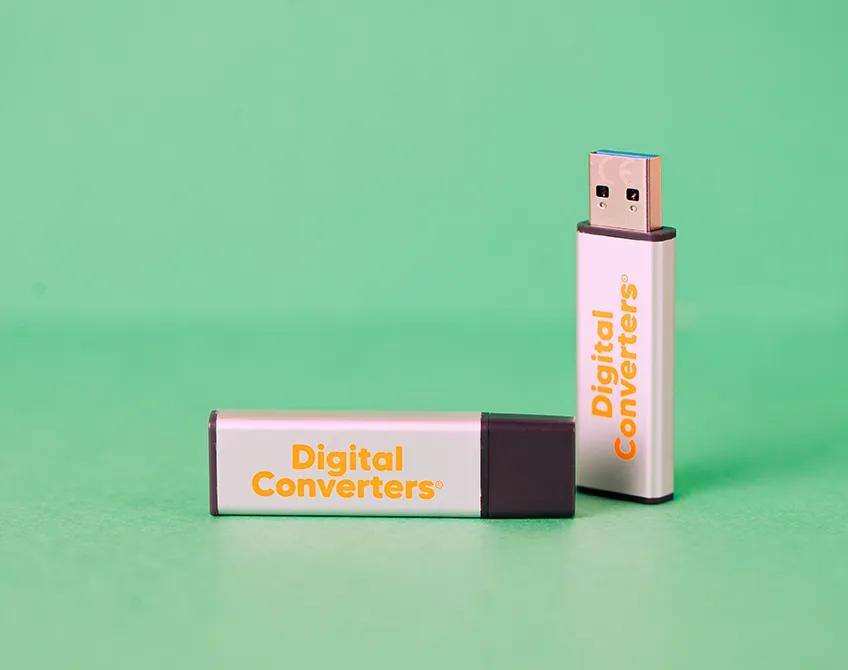
Your converted Mini DV tape(s) on a memory stick. Plug in to your computer (or any other device with a USB port) and you can play, save, and copy your files.
All your videos on one stick
All your videos on one stickYou only need to order one memory stick to get all your conversions
You only need to order one memory stick to get all your conversionsWatching on the computer or Smart TV
Watching on the computer or Smart TV
Your Mini DV conversions, stored safely online as digital files. We’ll upload your files to the cloud and send you a private access link, so you can watch and download your videos instantly, from anywhere. The access lasts one year, and you can continue to renew it for a small cost.
Your Mini DV tapes converted to digital video files
Your Mini DV tapes converted to digital video filesYou only need to order one cloud backup link to get all your conversions
You only need to order one cloud backup link to get all your conversionsSharing with friends and family
Sharing with friends and family


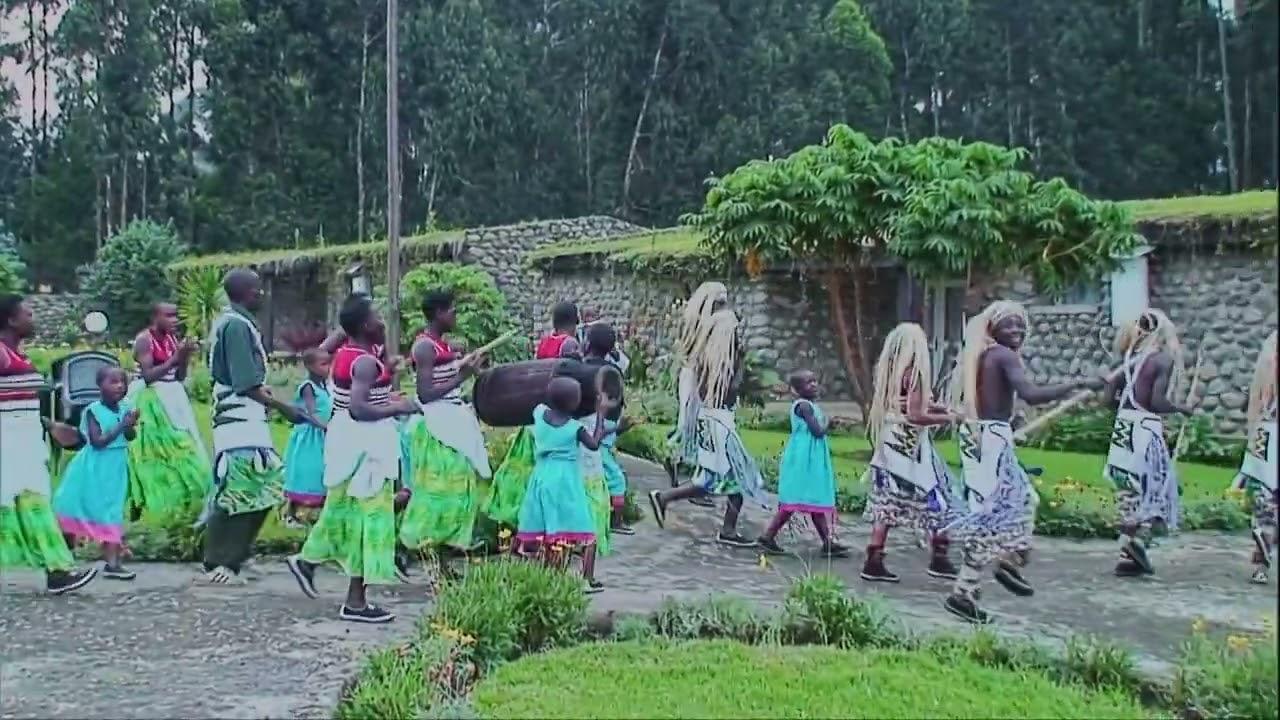
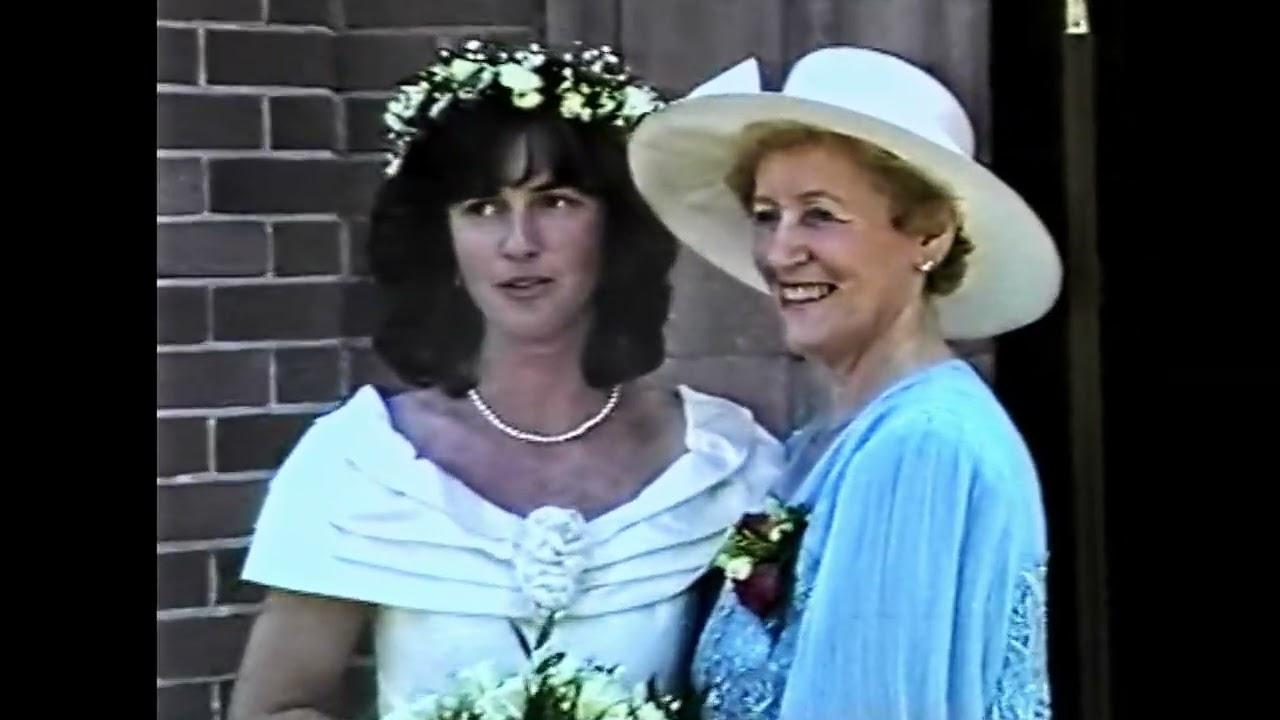
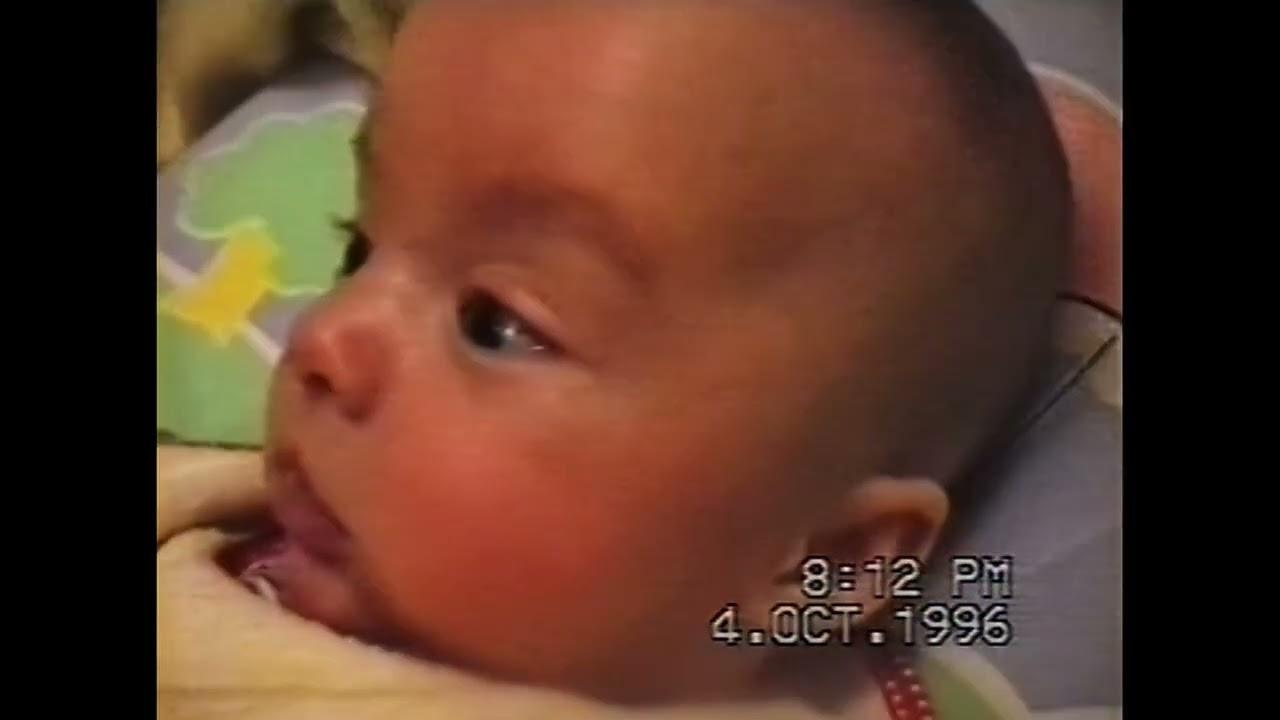
Gathering round to watch home videos at a family get-together, enjoying (or “enjoying”) clips from friends’ holidays, reminiscing about weddings and parties…
Safe to say, home video tapes such as Mini DVs hold some of life’s best memories.
But, as technology has moved on, fewer people than ever have Mini DV players or recorders to play them on and old tapes are gradually breaking and deteriorating.
Mini DV conversion is the perfect way to preserve and relive those precious memories.
Video tapes are the media we convert most often, digitising hundreds of thousands of hours since we started Digital Converters. We’ve got the best equipment, highly-trained technicians, and a shameless love for nostalgia.
Your Mini DV tapes couldn’t be in safer hands!